In the following video, we cover:
- Accessing Blue Mode in the editor to enable scheduling.
- Schedule posts in specific date and time.
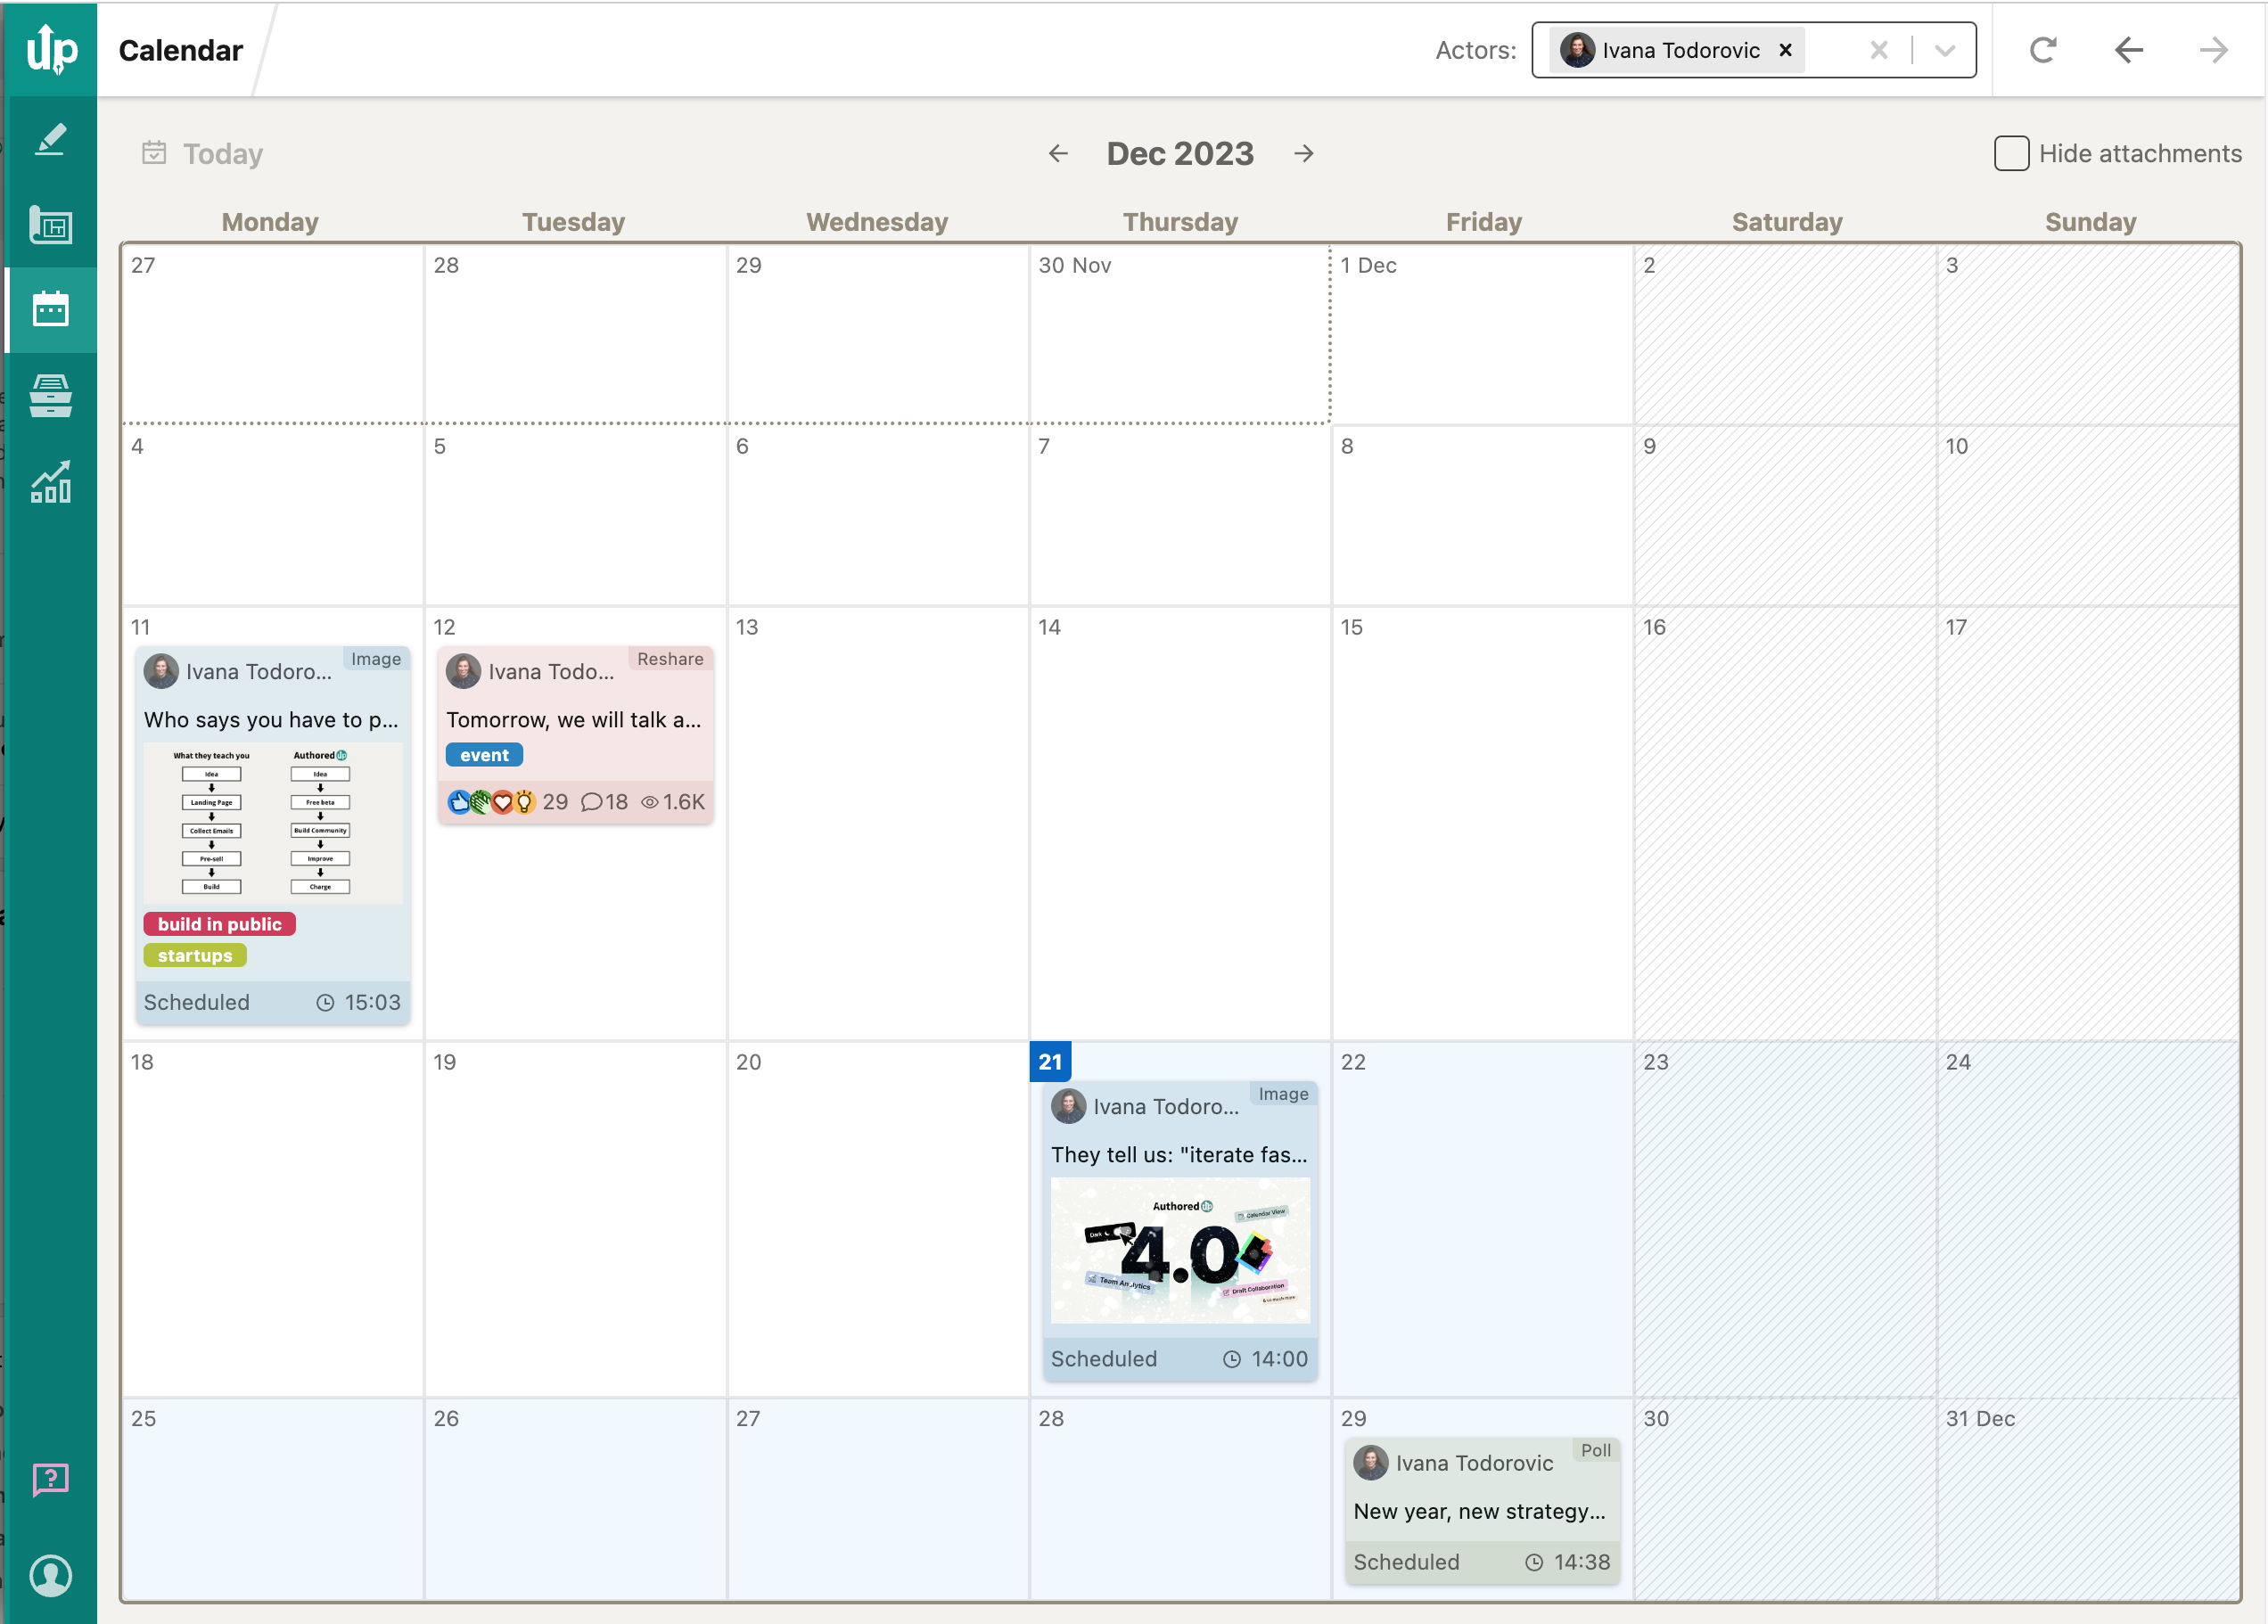
- Viewing, managing, and rescheduling posts in Calendar.
- How to edit or delete scheduled posts directly from Calendar.
At AuthoredUp, we are dedicated to enhancing your experience by constantly enriching our features to simplify your content creation process. With LinkedIn’s recent update that allows rescheduling posts, we’ve ensured that AuthoredUp makes this process as seamless as possible.
Our latest update now lets you edit, reschedule, or delete scheduled posts with ease. Here’s how you can take full control of your LinkedIn content.
There are two ways you can reschedule your scheduled posts.
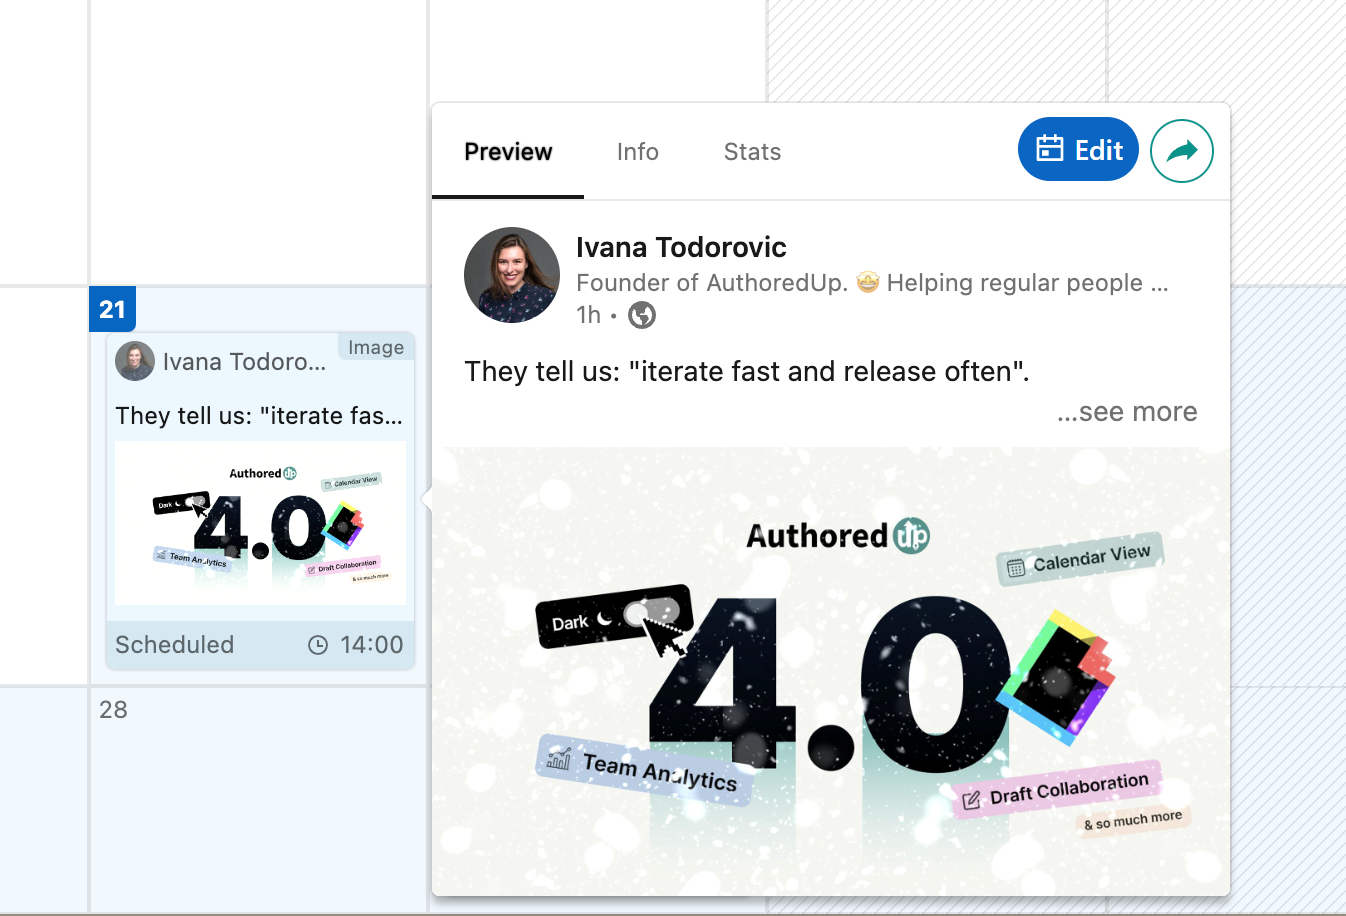
You can find the post in the Calendar, click on it, and then click on the Edit button.
Secondly, you can reschedule in AuthoredUp Editor in blue mode on LinkedIn. Follow these easy steps to make needed changes:
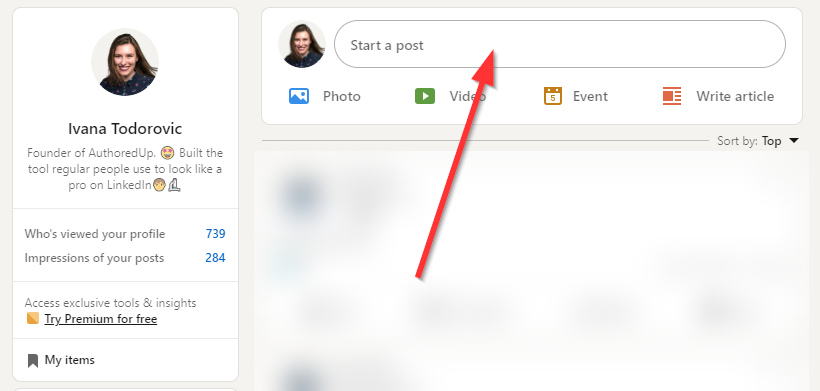
Step 1: Go to your LinkedIn profile and tap on "Start a post". This will open the AuthoredUp Editor in blue mode.
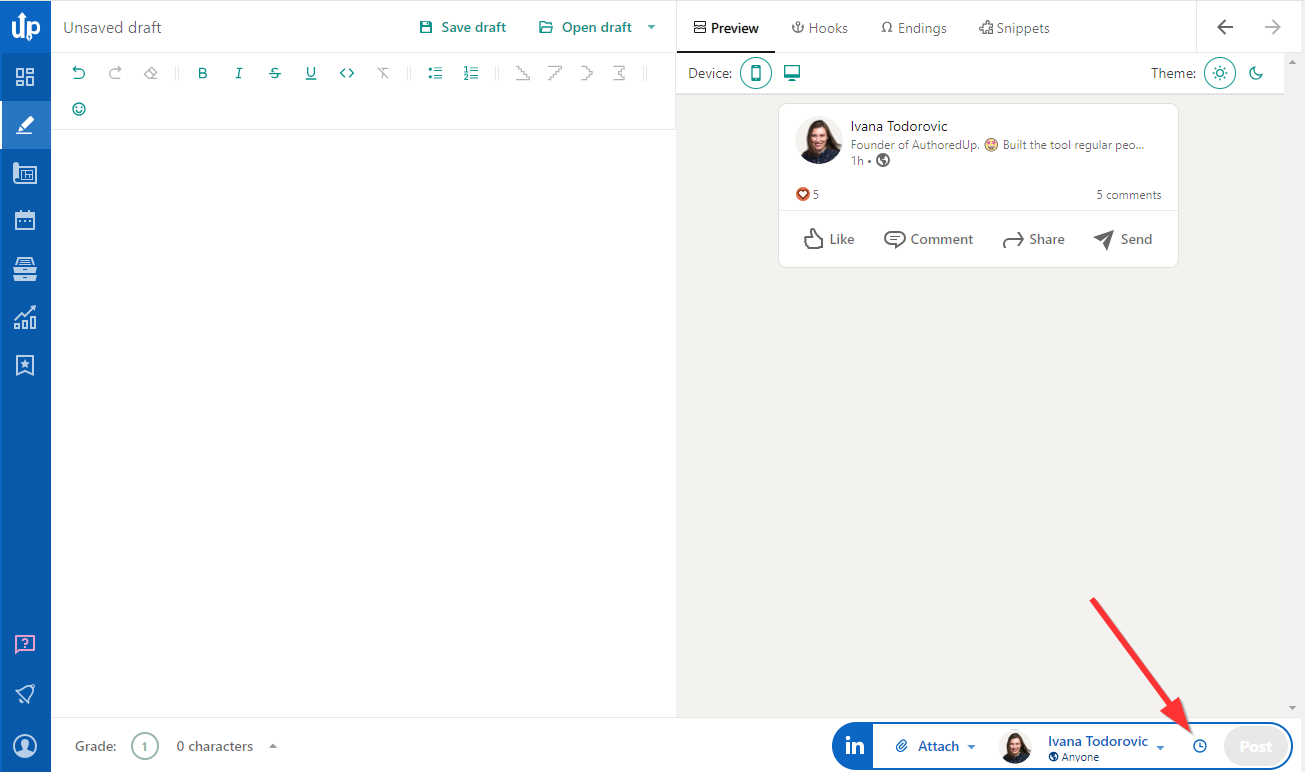
Step 2: Click on the clock icon.
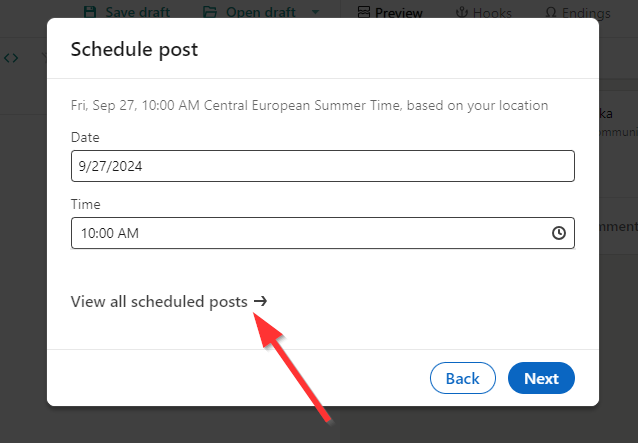
Step 3: Tap on “View all scheduled posts”.
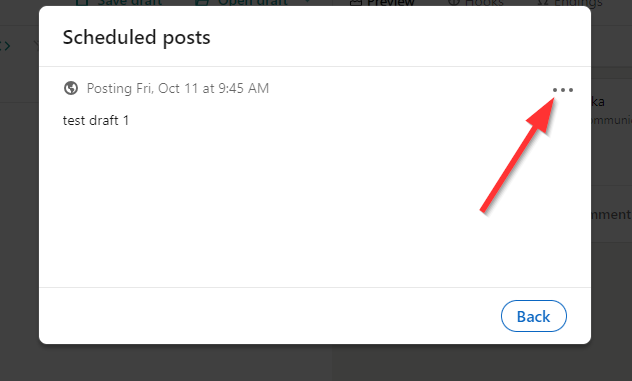
Step 4: You will see all your scheduled posts in the pop-up window. Tap on the three dots to open the options menu.
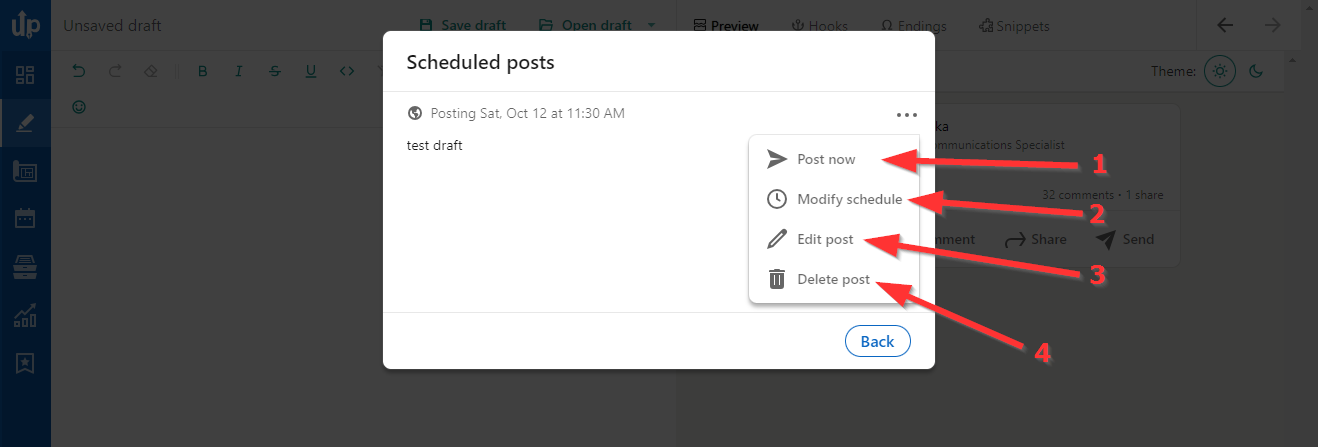
Step 5: From the menu, select one of the following actions depending on the change you want to make to post :
- Post Now – Instantly publish your post.
- Modify Schedule – Change the date and time of your scheduled post.
- Edit Post – Make changes to your scheduled post content.
- Delete Post – Remove the post from your schedule.
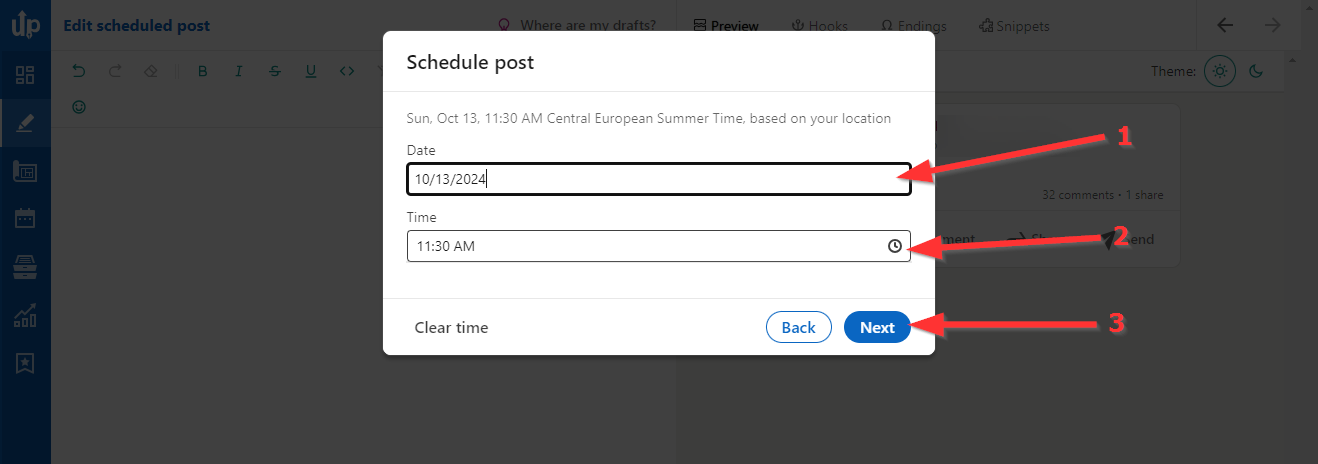
Modifying schedule
When you tap “Modify Schedule,” a pop-up will appear, allowing you to adjust the date and time of your post. Once you’ve made your changes, confirm by clicking "Next" to reschedule the post at the desired time.
Editing scheduled posts
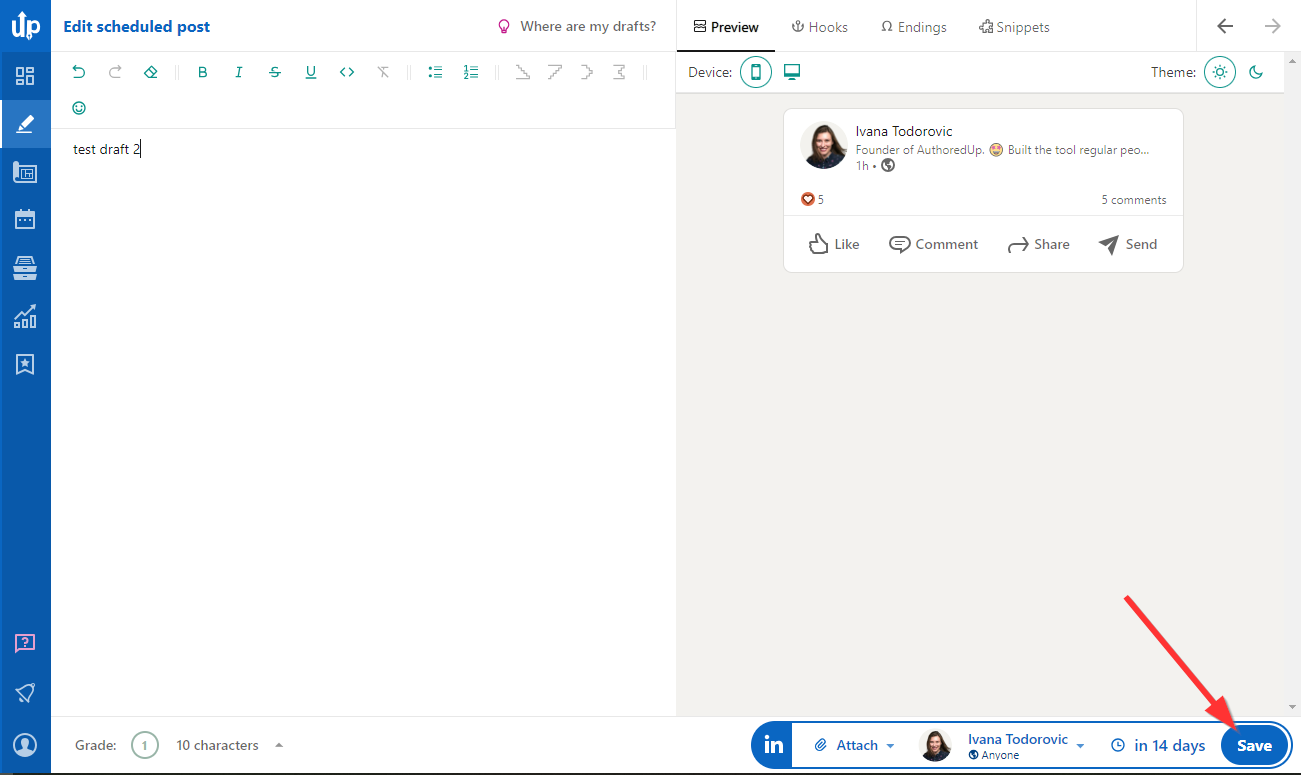
If you need to make changes to your post, tap on “Edit Post.” This will open the AuthoredUp Editor in Blue Mode. Once you’ve made the necessary edits, click Save to update your post.
Deleting a scheduled post
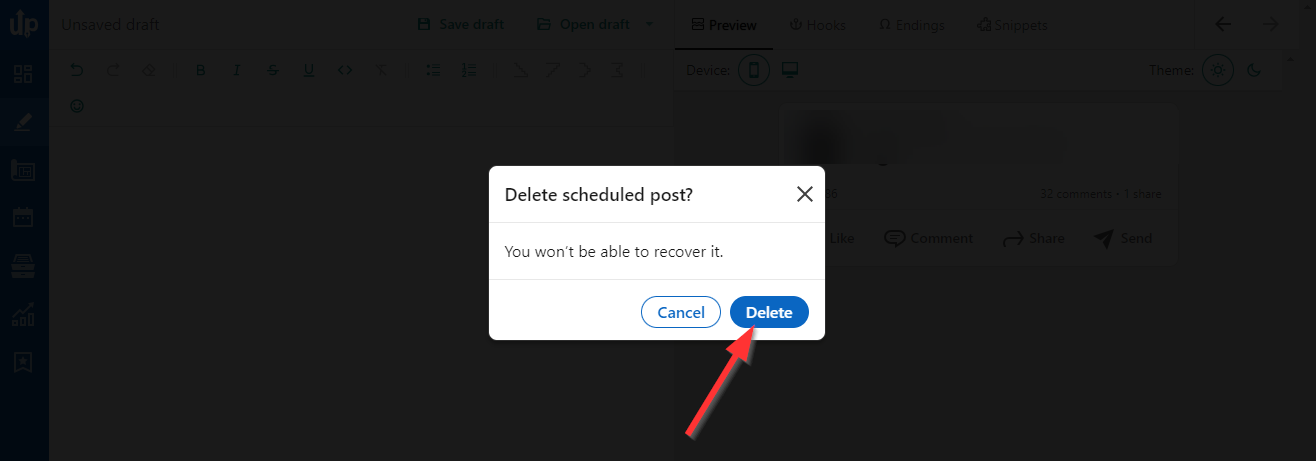
To delete a post, click on “Delete Post” in the menu, then confirm by tapping “Delete” on the pop-up. The post will be removed from your schedule immediately.
