
AuthoredUp MCP allows AI assistants to securely access your AuthoredUp account and use available functionalities on your behalf.
All functionalities available through the AuthoredUp API are also available through MCP. This includes:
- All your posts, with full stats, including saved posts
- Profile and company history from the dashboard
- Full draft management
- Help articles
- Company roadmap
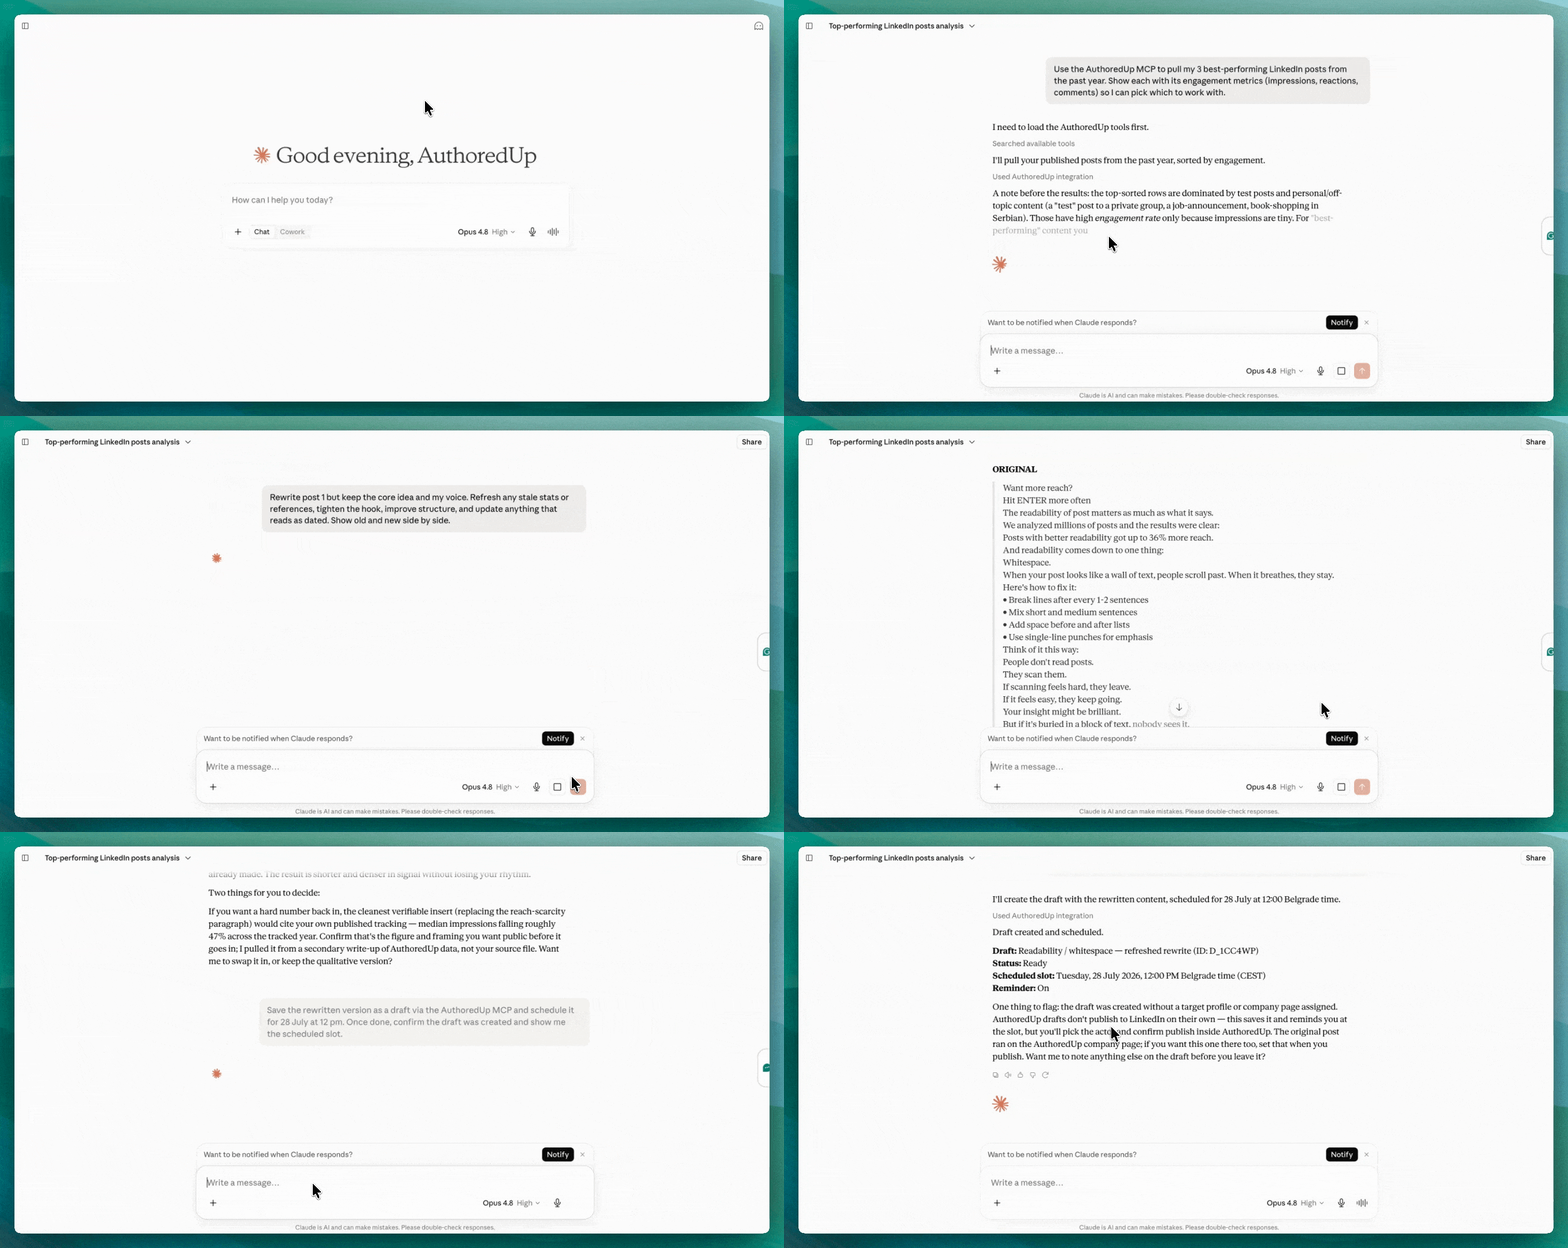
Connecting AuthoredUp MCP
- Open your MCP-compatible AI assistant (Claude, Claude Code, ChatGPT, Codex, or another supported client).
- Add AuthoredUp as a custom MCP connector.
- Use the following MCP server URL:
https://backend.authoredup.com/mcp - Complete the authentication flow when prompted.
- Once connected, your AI assistant can access the AuthoredUp features and data available through your account permissions.
You can also copy and paste the prompt we've prepared for you, and your AI assistant will guide you through the process.
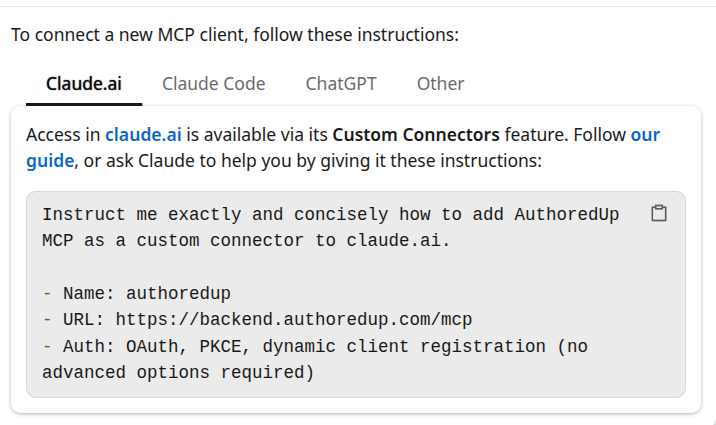
How to add the AuthoredUp connector to Claude
Go to claude.ai and sign in.
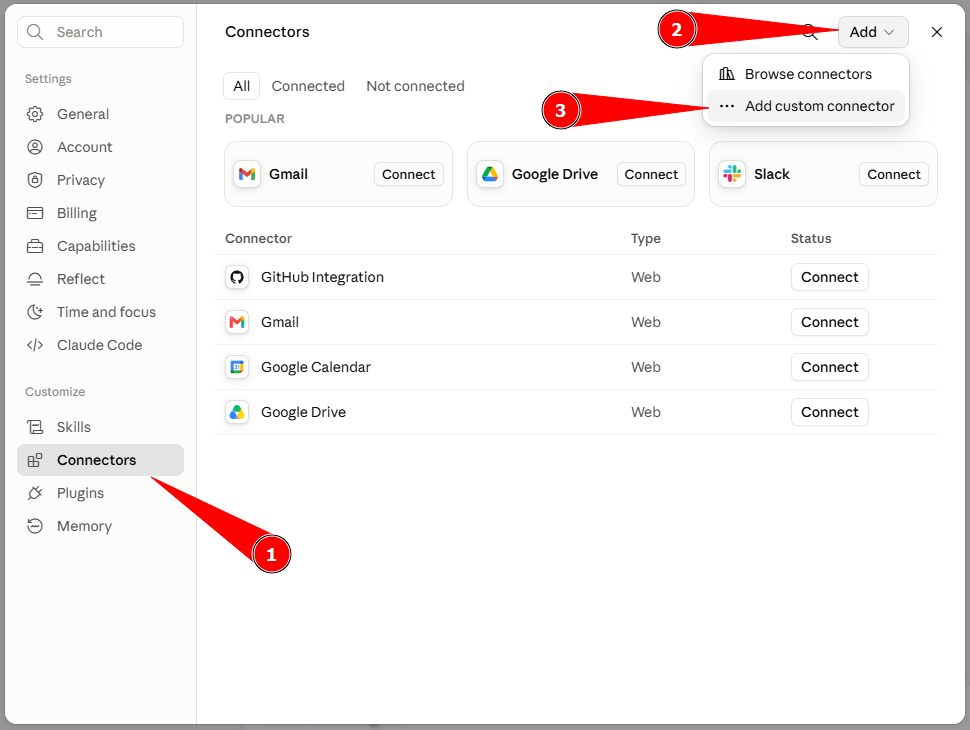
Open Settings → Connectors (left sidebar).
In the upper left corner, click Add → Add custom connector.
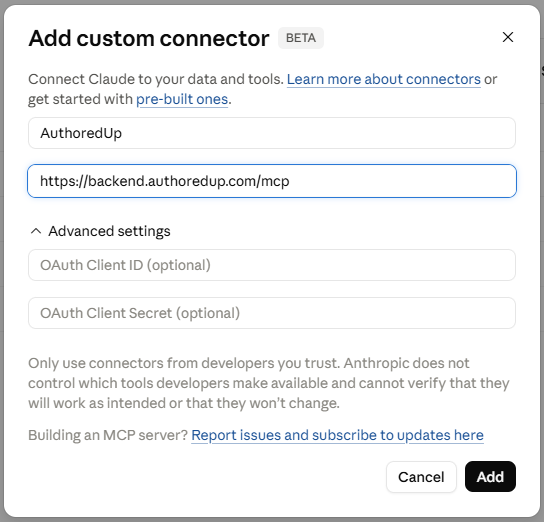
Fill in the fields:
- Name:
AuthoredUp - Remote MCP server URL:
https://backend.authoredup.com/mcp
Leave advanced settings untouched. Do not enter a client ID or secret. OAuth with PKCE and dynamic client registration are handled automatically.
Click Add.
The connector now appears in your list. Click Connect next to it, then complete the OAuth sign-in in the popup to authorize access.
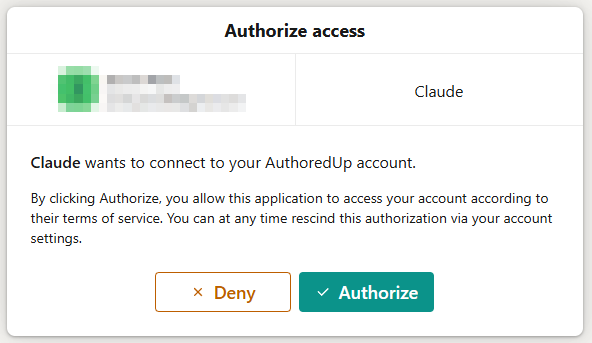
Go back to the AuthoredUp platform and under Integrations check whether Claude has been successfully connected.
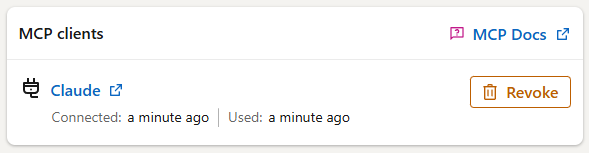
As shown in the screenshot above, you can revoke access here if you'd like.
Note: Custom connectors may require a Pro, Max, Team, or Enterprise plan, and on Team/Enterprise an admin must have custom connectors enabled for the org. If you don't see Add custom connector, that's the likely cause.
How to add AuthoredUp MCP as a custom ChatGPT plugin
Go to chatgpt.com and log in.
For this to work you'll need a ChatGPT plan that supports Developer Mode for custom MCP connectors.
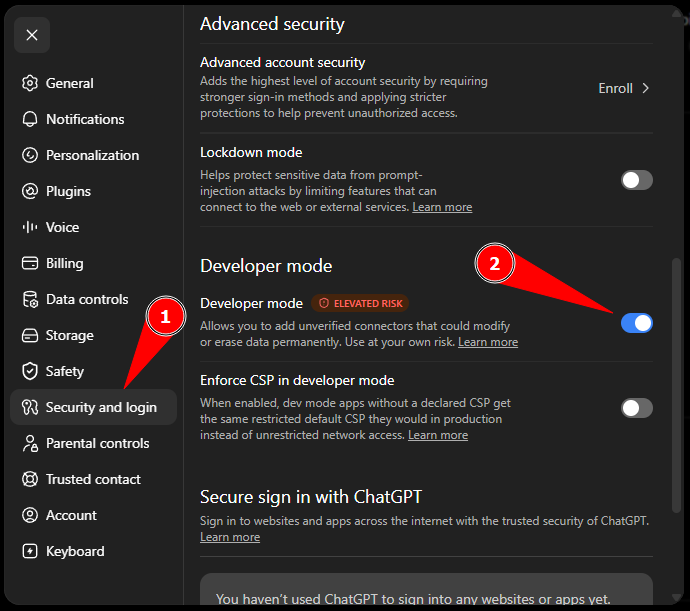
Go to Settings → Security and login, then enable Developer mode.
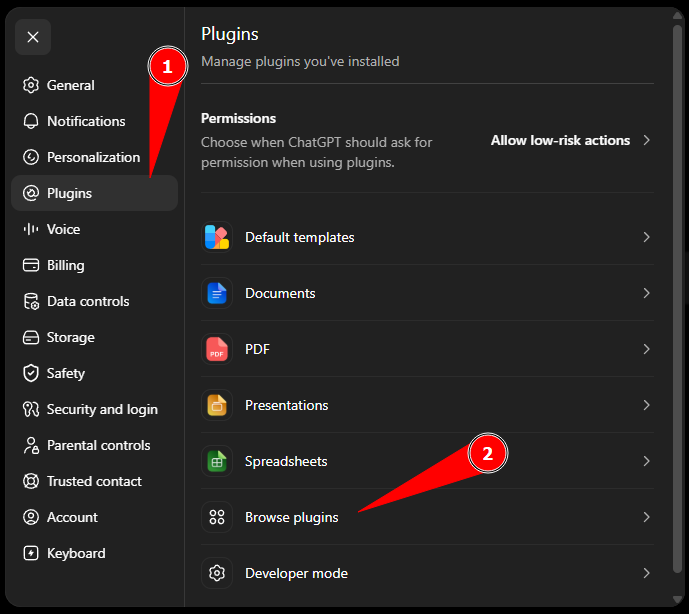
Go to Plugins → Browse Plugins
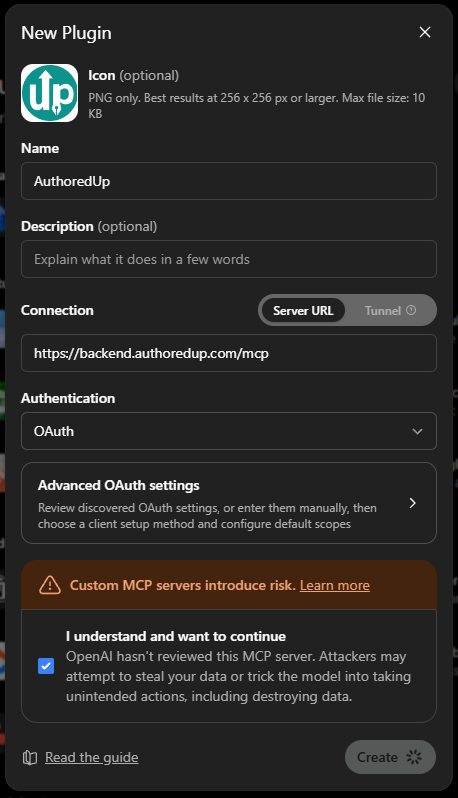
On the Plugins page, click the + icon in the top-right corner.

Fill in:
- Name:
AuthoredUp - Description:
All-in-one LinkedIn tool(or leave blank) - URL:
https://backend.authoredup.com/mcp - Auth:
OAuth
Check ✅ I understand and want to continue. Click Create.
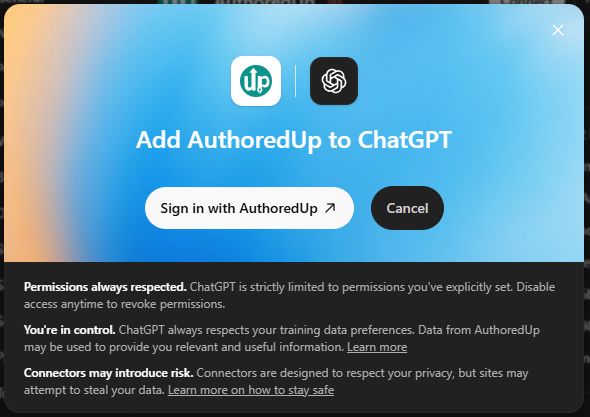
A pop-up window will appear. Click Sign in with AuthoredUp.
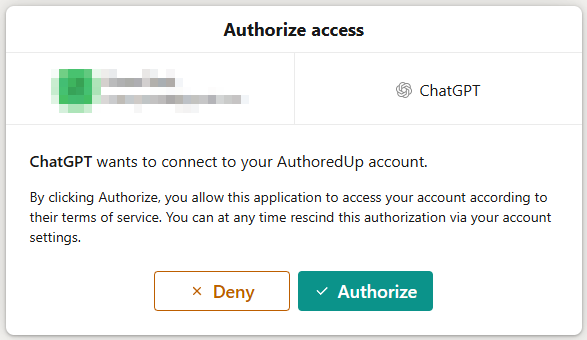
You will be redirected to the AuthoredUp platform, where an Authorize access window will appear asking for permission. Click Authorize to grant access.
Go back to the AuthoredUp platform and under Integrations check whether ChatGPT has been successfully connected.
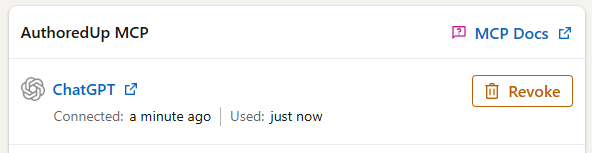
As shown in the screenshot above, you can revoke access here if you'd like.
Note: If you do not see Developer Mode, you may not have the required plan or workspace permissions; in Business workspaces, an admin/owner may need to enable it, while in Enterprise/Edu environments, admins control access through workspace permissions.